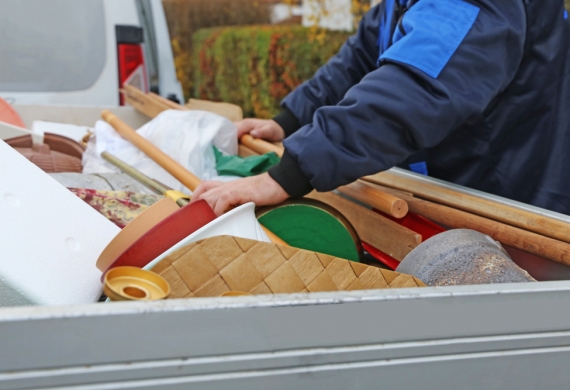
How To Fill A Skip Efficiently

How To Fill A Skip Efficiently
Filling a skip effectively is a bit of an art form. While it might be tempting to go on the attack and chuck it all in, this isn’t an efficient way of using a skip. In fact, a bit of planning can go a long way in helping you to maximise the space in your skip and get a lot more bang for your buck!
How To Fill A Skip
Here at DP Skip Hire, skips are our thing. We live and breathe skips and we’ve seen our fair share of filling techniques. In this article, we’ll give you an insider look on the best ways to make the most of the space in your skip!
Size Matters
Before you even get the ball rolling on skip hire, it’s wise to consider how big a skip you need. This is important because if it’s too small you might need to hire a second skip or have to make several trips to the tip. Rather than underestimate the amount of waste you’ll have, it’s best to overestimate to avoid this.
On each individual skip page here on our website, you’ll find their dimensions and approximate capacity measured in bin bags. Of course, this will vary depending on the size and weight of the items, but it’s a good way to decide on the right skip for you. Alternatively, check out our skip hire size guide video for more information on skip sizes.
Make A Plan
When you’ve got your skip and you’re ready to start loading, take a moment to assess the waste. Can it be sorted into different size categories? We’d suggest organising all of your flat items, similarly shaped items, bulky items and loose debris into separate piles, as this will help you to layer the waste and make the most of the space while safely filling the skip.
Reduce The Size Of Large Items
Once your waste is organised into distinct categories, take a look at your bulky items. Can their size be reduced so as to take up less space in the skip? Furniture, such as tables and chairs, can be easily broken up and when reduced down to their component parts are easily placed within the skip without taking up much room.
Put Flat Items In First
Before anything else goes in the skip, start with the flat items. Doors, fence panels, carpet, cardboard, timber, floorboards, tabletops, chair seats, plywood panels – the lot. If it can be smoothed out and flattened down, it’s perfect as the first layer in your skip!
Play Tetris
Once your flat base is in situ, it’s time to play Tetris! That means, taking all your tessellate and uniform shaped objects, and fitting them all together in layers. For example, bricks can be placed side by side with no gaps, as can tiles and paving stones. In some cases, you might have to think outside the box to get things to fit together, but that’s all part of the fun!
Add Your Large Items
Once you’ve laid out all your uniformly shaped objects, you should add any large pieces of waste that you haven’t been able to break down. It’s best to try and stick to the layering system you’ve started at this point, rather than try to stack everything on top of each other.
Let Loose
Finally, when your large items are in situ, you can add loose debris such as rubble, soil, sand or gravel. The reason why it’s best to leave these till last is that this type of waste will fill in all the little cracks and crevices in the skip, rather than taking up lots of space at the beginning. At this point, you could also pop in any lighter garden waste such as tree branches, leaves, or sticks.
Hire A Skip Today
So there you have it! How to fill a skip like a pro, straight from the mouth of the experts. In need of skip for your home clearout or DIY project? Here at DP Skip Hire, we have skips of all sizes available to hire in Stoke on Trent, Stafford, Crewe and Leek. To hire a skip from us, use our online hire form or call us on 01782 551 222 to speak to our team.
